Difference between revisions of "OpenVPN iOS"
From BTGuard Wiki
| Line 22: | Line 22: | ||
<div class="right3"> | <div class="right3"> | ||
<p> | <p> | ||
| − | Because of iOS limitations, you will need to do step '''2''' and '''3''' '''on your computer'''. | + | Because of iOS limitations, you will need to do step '''2''' and '''3''' '''on your computer'''.<br/><br/> |
2. Download the [http://wiki.btguard.com/uploads/openvpn-ios-config.zip OpenVPN iOS BTGuard Configuration Zip]. <br/><br/> | 2. Download the [http://wiki.btguard.com/uploads/openvpn-ios-config.zip OpenVPN iOS BTGuard Configuration Zip]. <br/><br/> | ||
3. Unzip the downloaded file and email yourself the ovpn file. <br/><br/> | 3. Unzip the downloaded file and email yourself the ovpn file. <br/><br/> | ||
| Line 70: | Line 70: | ||
<div class="right3"> | <div class="right3"> | ||
<p> | <p> | ||
| − | + | <br/><br/> | |
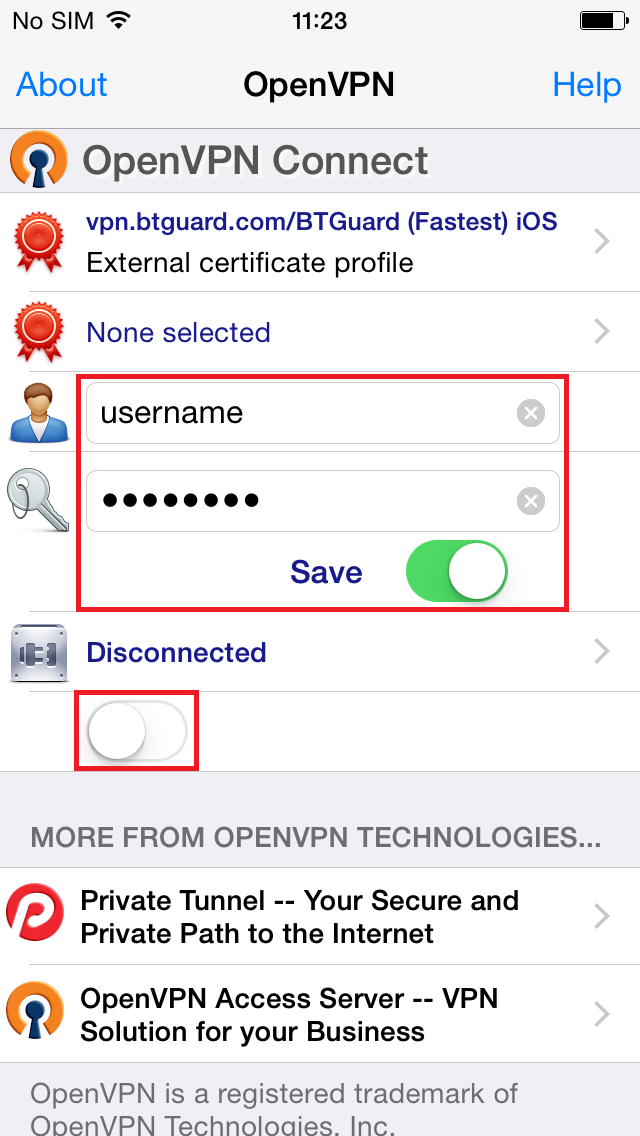
| − | + | 7. Type in your '''username''' and '''password'''.<br/><br/> | |
| + | ''Both username and password are case sensitive. Make sure not to add/forget Capital Letters.'' <br/><br/> | ||
| + | 8. Hit the button below '''Disconnected''' | ||
</p> | </p> | ||
</div> | </div> | ||
| Line 85: | Line 87: | ||
<div class="right3"> | <div class="right3"> | ||
<p> | <p> | ||
| − | + | <br/><br/> | |
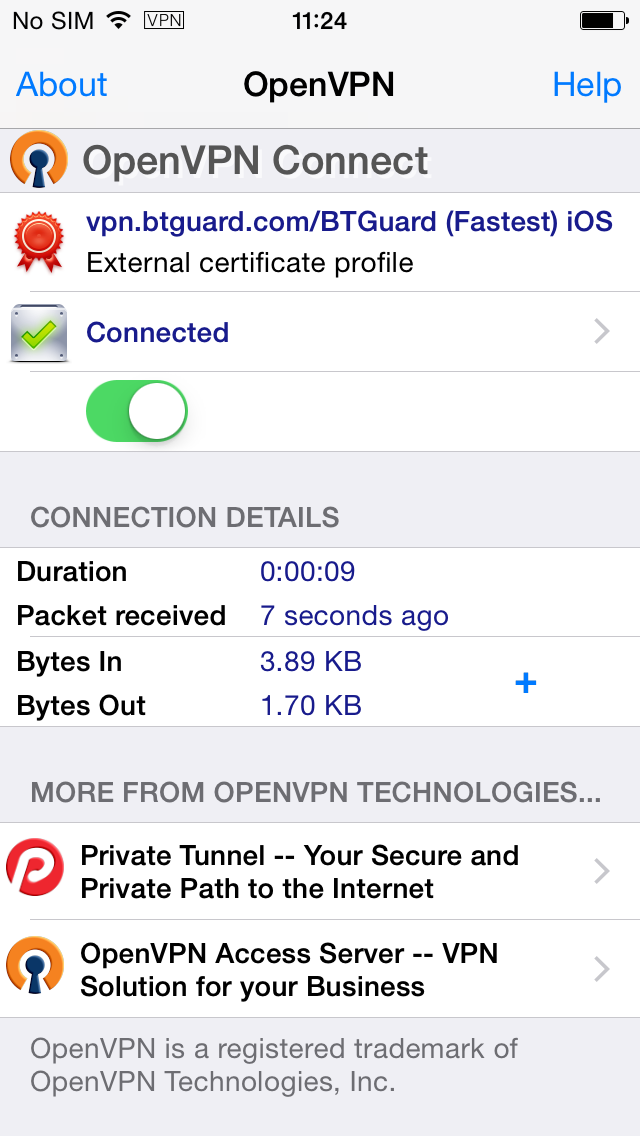
| + | You are connected! | ||
</p> | </p> | ||
</div> | </div> | ||
</div> | </div> | ||
Revision as of 21:59, 22 October 2014
Because of iOS limitations, you will need to do step 2 and 3 on your computer.
2. Download the OpenVPN iOS BTGuard Configuration Zip.
3. Unzip the downloaded file and email yourself the ovpn file.
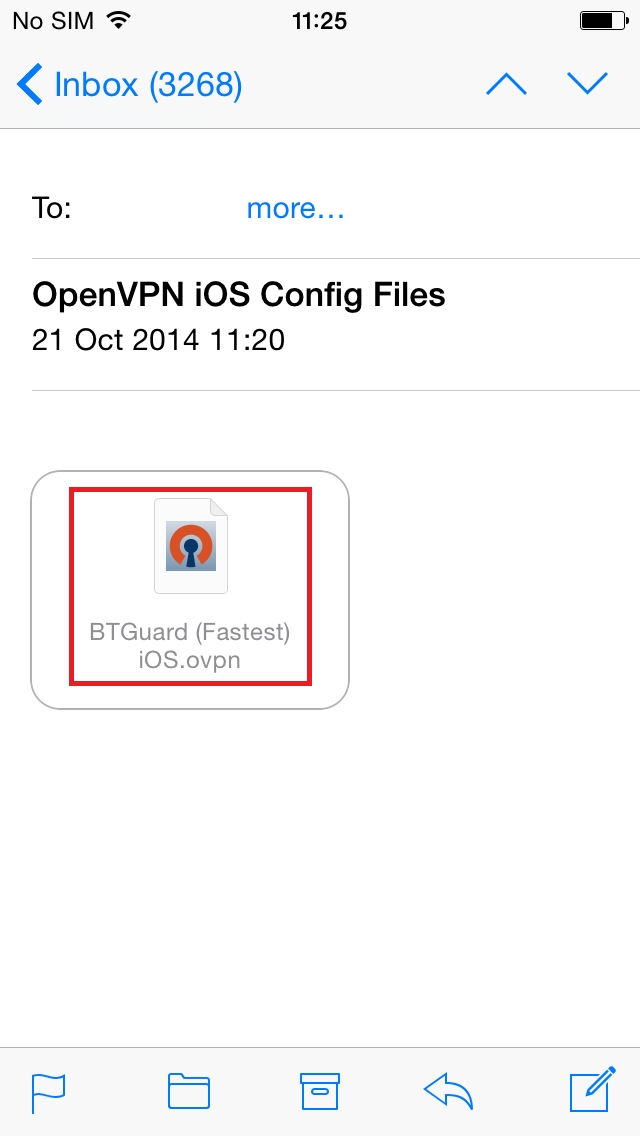
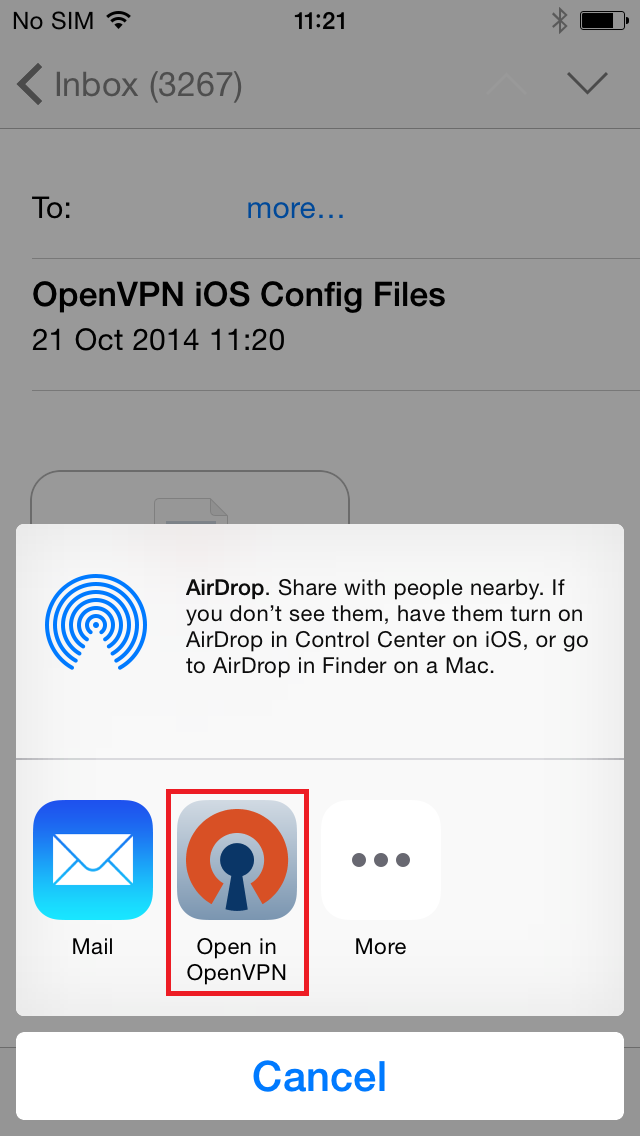
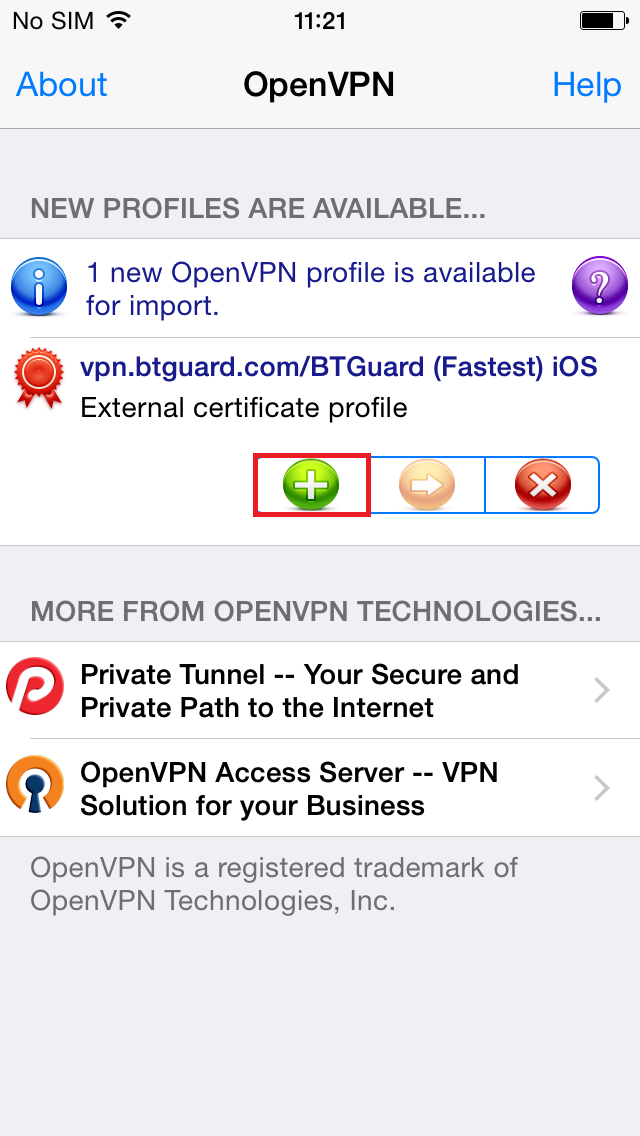
4. Open that email on your phone and tap on the attached ovpn file.
7. Type in your username and password.
Both username and password are case sensitive. Make sure not to add/forget Capital Letters.
8. Hit the button below Disconnected
