Difference between revisions of "OpenVPN Config Update"
(Created page with "<div class="wrapper"> <div class="wrapleft"> <div class="left"> <span class="plainlinks">[https://wiki.btguard.com/images/openvpn_win_2.png https://wiki.btguard.com/ima...") |
|||
| (9 intermediate revisions by the same user not shown) | |||
| Line 1: | Line 1: | ||
| + | <div class="wrapper"> | ||
| + | <div class="errorx" style=margin-top:40px> | ||
| + | <p> | ||
| + | ''' For Other OSes (Android, iOS, Linux)''' <br/> | ||
| + | Please follow the instructions or download the proper config for each of these OSes: <br/> | ||
| + | |||
| + | [[OpenVPN_Android|Android]], | ||
| + | [[OpenVPN_iOS|iOS]], | ||
| + | [[OpenVPN_Linux|Linux]], | ||
| + | [[OpenVPN_ubuntu|Ubuntu]], | ||
| + | <br/> | ||
| + | [http://wiki.btguard.com/uploads/openvpn-config.zip Ovpn ZIP], | ||
| + | [http://wiki.btguard.com/uploads/btguard.conf Conf] | ||
| + | <br/> <br/> | ||
| + | For MacOS users, please scroll down below the Windows Instructions. | ||
| + | <br/> | ||
| + | </p> | ||
| + | </div> | ||
| + | </div> | ||
| + | |||
| + | |||
<div class="wrapper"> | <div class="wrapper"> | ||
<div class="wrapleft"> | <div class="wrapleft"> | ||
<div class="left"> | <div class="left"> | ||
| + | <span class="plainlinks">[https://wiki.btguard.com/images/win_config1.png https://wiki.btguard.com/images/win_config1.png]</span><br /> | ||
| + | <span class="plainlinks">[https://wiki.btguard.com/images/win_config2.png https://wiki.btguard.com/images/win_config2.png]</span><br /> | ||
<span class="plainlinks">[https://wiki.btguard.com/images/openvpn_win_2.png https://wiki.btguard.com/images/openvpn_win_2.png]</span> | <span class="plainlinks">[https://wiki.btguard.com/images/openvpn_win_2.png https://wiki.btguard.com/images/openvpn_win_2.png]</span> | ||
</div> | </div> | ||
| Line 11: | Line 34: | ||
2. Open '''openvpn_auto_config.exe'''. | 2. Open '''openvpn_auto_config.exe'''. | ||
<br /><br /> | <br /><br /> | ||
| − | 3. Click on '''Ok'''.<br /> | + | 3. Click on '''more info ''' when the Smart Screen window opens.<br /> |
| + | <br /><br /> | ||
| + | 4. Click on '''Run Anyway'''.<br /> | ||
| + | <br /><br /> | ||
| + | 5. Click on '''Ok'''.<br /> | ||
</p> | </p> | ||
</div> | </div> | ||
| Line 26: | Line 53: | ||
<div class="right"> | <div class="right"> | ||
<p> | <p> | ||
| − | + | 6. Go to '''C:\Program Files\OpenVPN\Config'''<br /> | |
If non-existant then go to '''C:\Program Files (x86)\OpenVPN\Config'''<br /> | If non-existant then go to '''C:\Program Files (x86)\OpenVPN\Config'''<br /> | ||
<br /> | <br /> | ||
| Line 37: | Line 64: | ||
</div> | </div> | ||
</div> | </div> | ||
| + | |||
| + | |||
| + | |||
| + | |||
| + | |||
| + | |||
| Line 45: | Line 78: | ||
| − | |||
| − | |||
| − | |||
| − | |||
| − | |||
| − | |||
| − | |||
| − | |||
| − | + | ||
| − | + | ||
| − | + | ||
| − | + | ||
| − | + | ||
<div class="wrapper"> | <div class="wrapper"> | ||
<div class="wrapleft"> | <div class="wrapleft"> | ||
<div class="left"> | <div class="left"> | ||
| − | <span class="plainlinks">[https://wiki.btguard.com/images/ | + | <span class="plainlinks">[https://wiki.btguard.com/images/openvpn_mac_3.7_8.png https://wiki.btguard.com/images/openvpn_mac_3.7_8.png]</span> |
</div> | </div> | ||
</div> | </div> | ||
<div class="right"> | <div class="right"> | ||
| − | <p> | + | <p><br/><br/> |
| − | + | == MacOS: How to update the new Config Files == | |
| + | 1. Download the new [http://wiki.btguard.com/uploads/openvpn-tblk-all.zip OpenVPN BTGuard Configuration Zip] and open it. <br/> | ||
<br/> | <br/> | ||
| − | '' | + | 2. Double click on '''openvpn-all.tblk'''<br/> |
<br/> | <br/> | ||
</p> | </p> | ||
| Line 76: | Line 99: | ||
</div> | </div> | ||
| − | |||
<div class="wrapper"> | <div class="wrapper"> | ||
<div class="wrapleft"> | <div class="wrapleft"> | ||
<div class="left"> | <div class="left"> | ||
| − | <span class="plainlinks">[https://wiki.btguard.com/images/ | + | <span class="plainlinks">[https://wiki.btguard.com/images/openvpn_mac_3.7_10.png https://wiki.btguard.com/images/openvpn_mac_3.7_10.png]</span> |
| + | <span class="plainlinks">[https://wiki.btguard.com/images/openvpn_mac_3.7_11.png https://wiki.btguard.com/images/openvpn_mac_3.7_11.png]</span> | ||
</div> | </div> | ||
</div> | </div> | ||
<div class="right"> | <div class="right"> | ||
| − | <p> | + | <p><br/><br/> |
| − | 3. Enter your | + | 3. Enter your '''Mac password''' and hit '''OK'''. |
| − | + | ||
<br/> | <br/> | ||
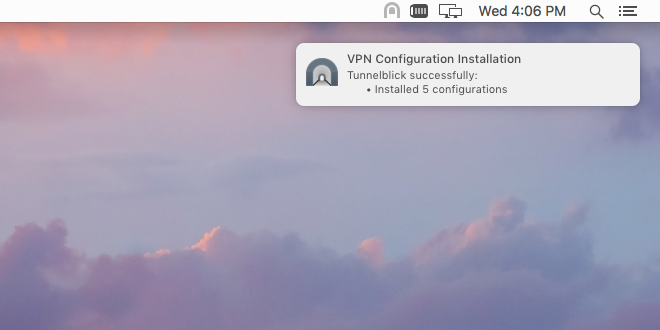
| + | Your configuration files have been automatically replaced. | ||
| − | |||
| − | |||
| − | |||
<br/> | <br/> | ||
</p> | </p> | ||
</div> | </div> | ||
</div> | </div> | ||
| + | |||
| + | |||
| + | |||
| + | |||
| + | |||
| + | <div class="wrapper"><br/> | ||
| + | ---- | ||
| + | <br/></div> | ||
Revision as of 10:34, 6 August 2020

Windows: How to update the new Config Files
1. Download the new OpenVPN BTGuard Configuration executable file.(ZIP).
2. Open openvpn_auto_config.exe.
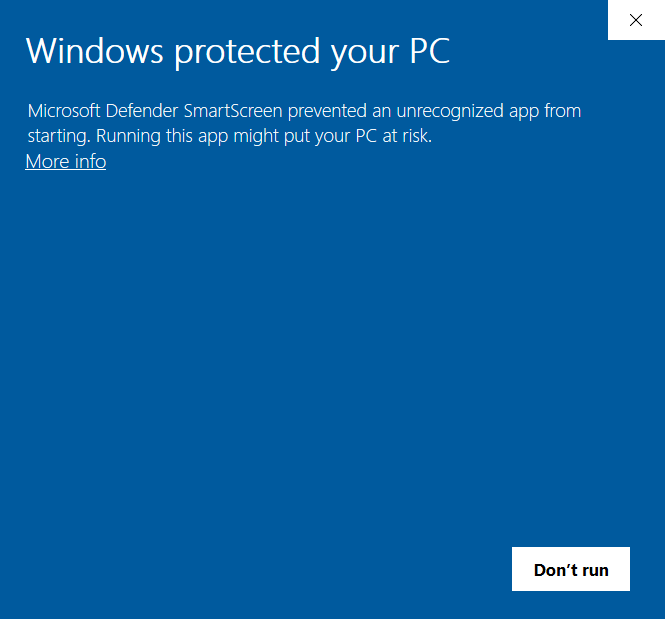
3. Click on more info when the Smart Screen window opens.
4. Click on Run Anyway.
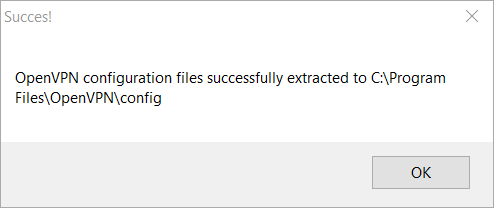
5. Click on Ok.
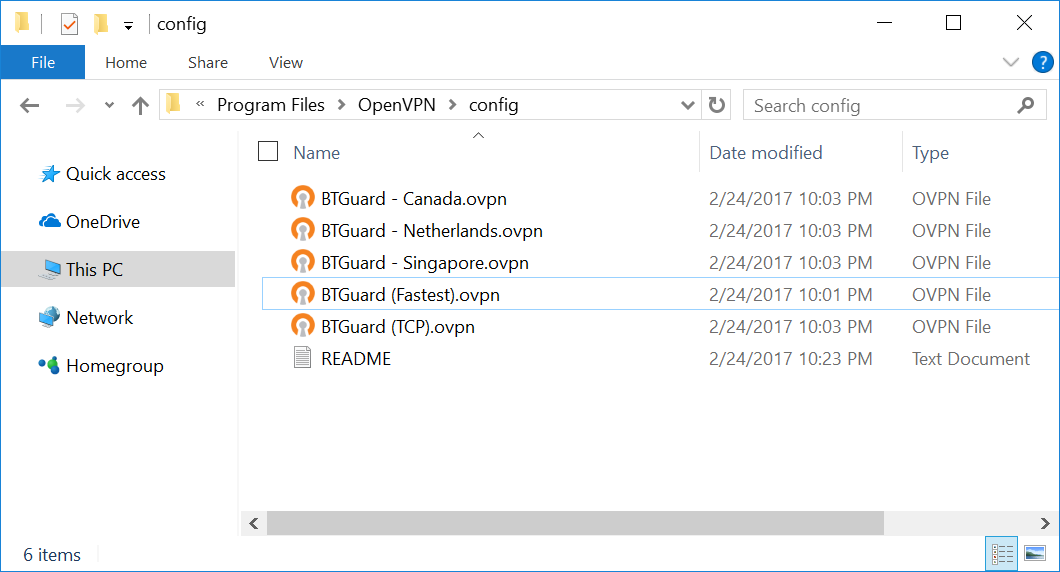
6. Go to C:\Program Files\OpenVPN\Config
If non-existant then go to C:\Program Files (x86)\OpenVPN\Config
You should have the following files in the Config folder.
If the Self-Extractor didn't work, download the ZIP file and move those files manually.
If it won't allow you to unzip the files directly in the Config folder, try extracting them to the desktop then moving them to the folder
MacOS: How to update the new Config Files
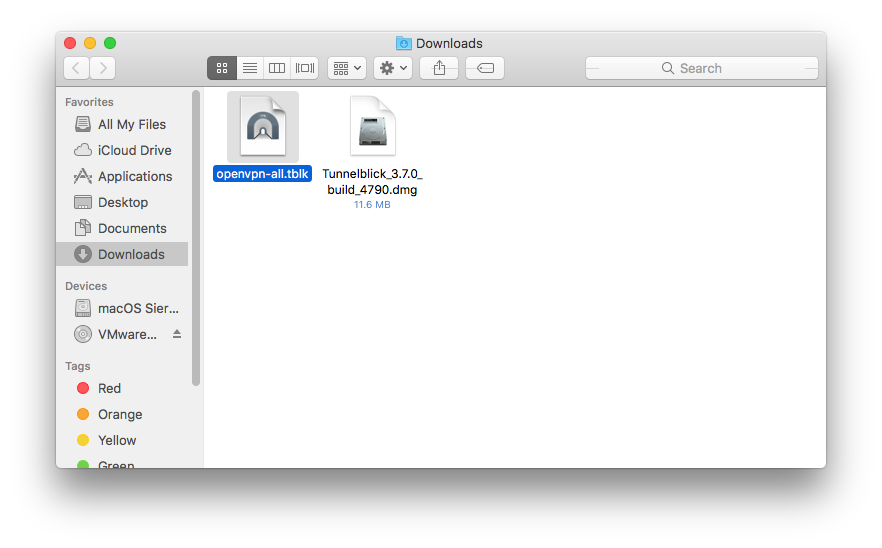
1. Download the new OpenVPN BTGuard Configuration Zip and open it.
2. Double click on openvpn-all.tblk
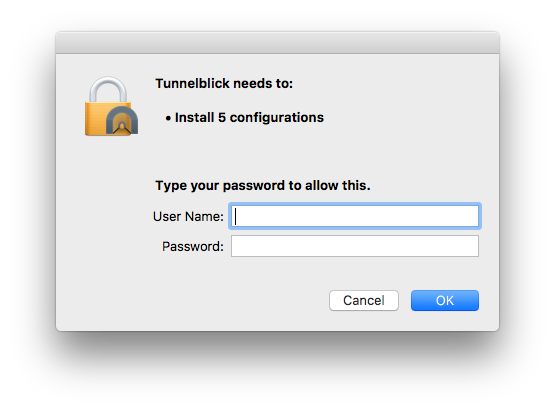
3. Enter your Mac password and hit OK.
Your configuration files have been automatically replaced.