OpenVPN Startup
How To Run and AutoConnect OpenVPN GUI when Windows Starts
Prerequisite:
- Your password must already be saved using this method.
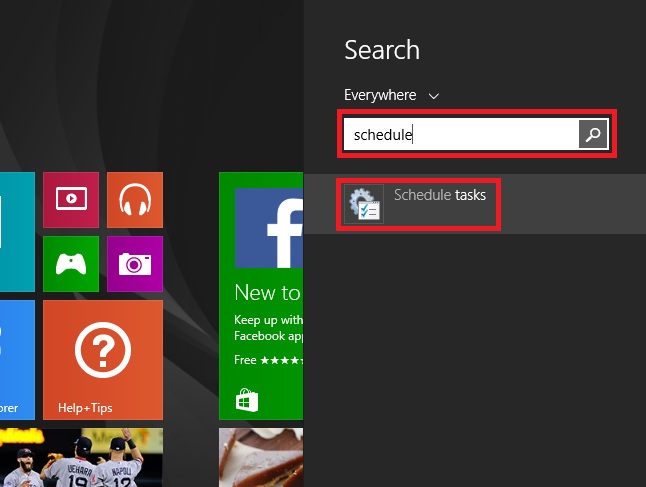
1. Hit the Windows key and type in schedule to open the Task Scheduler.
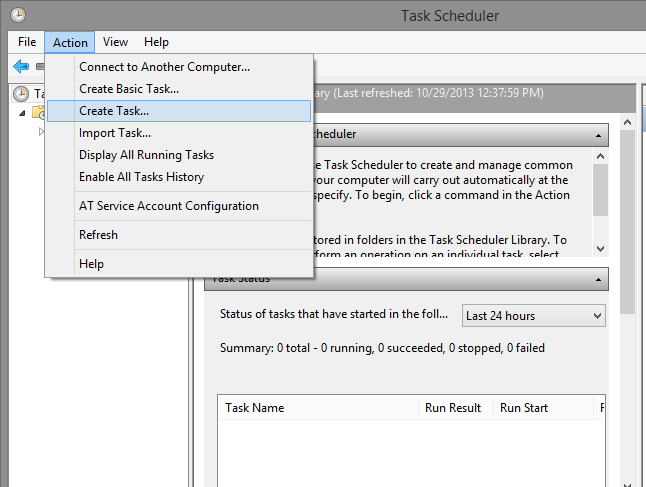
2. Click on Action then Create Task....
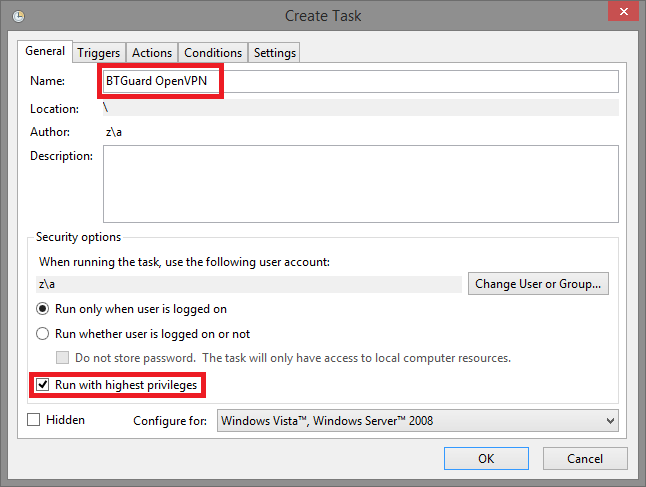
3. Give a name to the task and make sure to check Run with highest privileges.
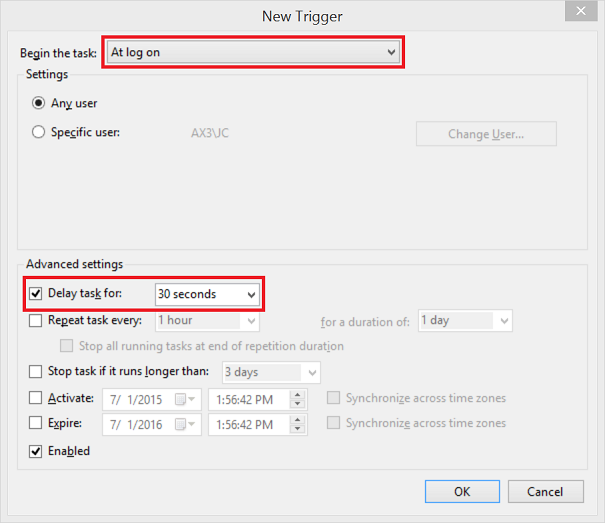
4. Go to the Triggers tab and hit New...
5. Select Begin the task: At Log on.
5b. Checkmark Delay task for: and select 30 seconds then hit OK.
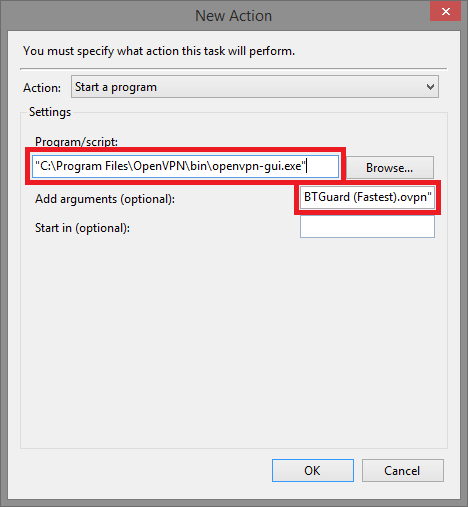
6. Go to the Actions tab and hit New....
7. Hit Browse... and Locate the openvpn-gui.exe file which should be in C:\Program Files\OpenVPN\bin\openvpn-gui.exe.
8. Copy --connect "BTGuard (Fastest).ovpn" into the 'Add arguments (optional): Field then hit OK.
Depending on your computer, the openvpn-gui.exe could be located at C:\Program Files (x86)\OpenVPN\bin\openvpn-gui.exe
Please change the links accordingly.
Note that you need to replace "BTGuard (Fastest).ovpn" with one of the file names found in "C:\Program Files\OpenVPN\config" if you have made some changes in the config files or are using the CA or EU config files.
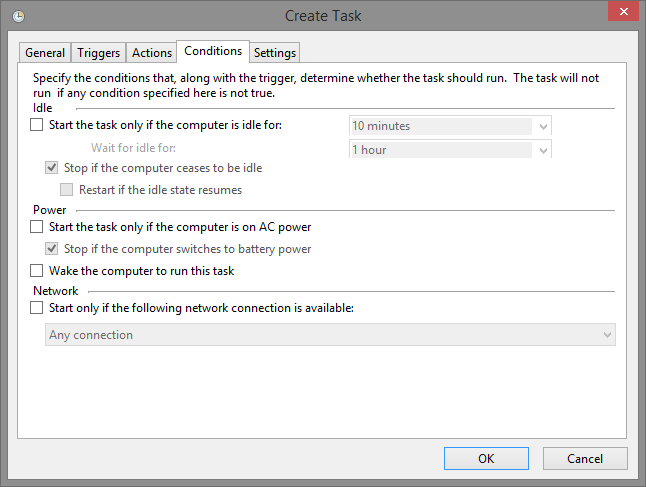
9. Go to the Conditions tab and make sure all settings are as shown on the left.
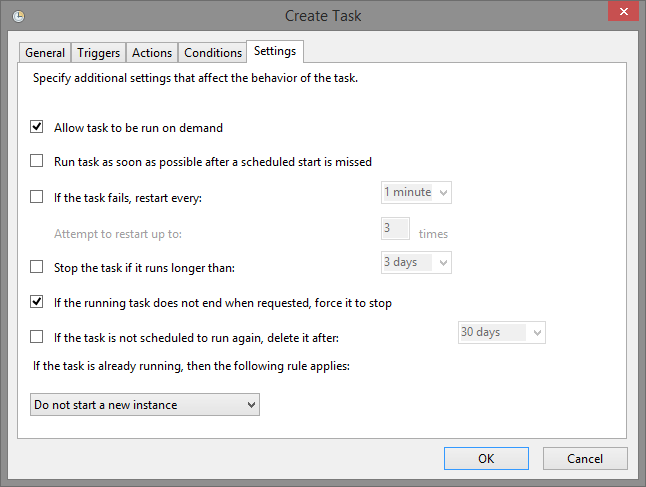
10. Go to the Settings tab and make sure all settings are as shown on the left.
11. Hit OK and you're done.
Restart your computer and OpenVPN GUI should open and automatically connect to the server you selected.