Difference between revisions of "PPTP Mac OS X"
| Line 1: | Line 1: | ||
| + | <div class="wrapper"> | ||
<div class="errorx" style=margin-top:40px> | <div class="errorx" style=margin-top:40px> | ||
<p> | <p> | ||
| Line 7: | Line 8: | ||
<br/> | <br/> | ||
| − | |||
</p> | </p> | ||
</div> | </div> | ||
| + | </div> | ||
<br/><br/> | <br/><br/> | ||
Revision as of 10:29, 19 October 2016
For macOS Sierra users: PPTP is NOT supported anymore
If you have just upgraded to macOS Sierra, your VPN connection was removed.
Please use the OpenVPN protocol with Tunnelblick:
Please click here for instructions for macOS Sierra users.

Setup Instructions
1. Click the Apple logo, and then select System Preferences
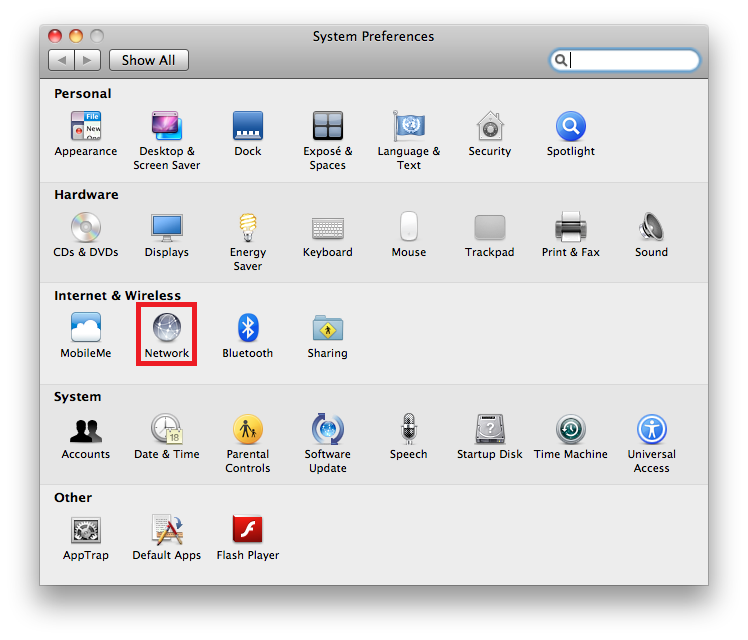
2. Click on Network
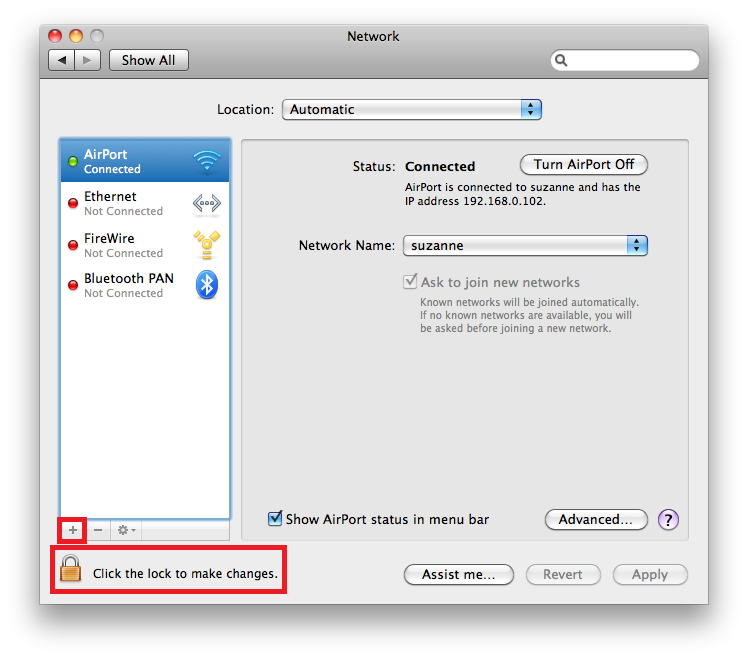
3. If locked, click to unlock. Otherwise you may skip this step.
4. Click on the + sign.
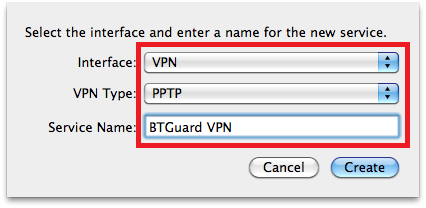
5. Interface: VPN
6. VPN Type: PPTP
7. Service Name: BTGuard VPN
8. Click Create
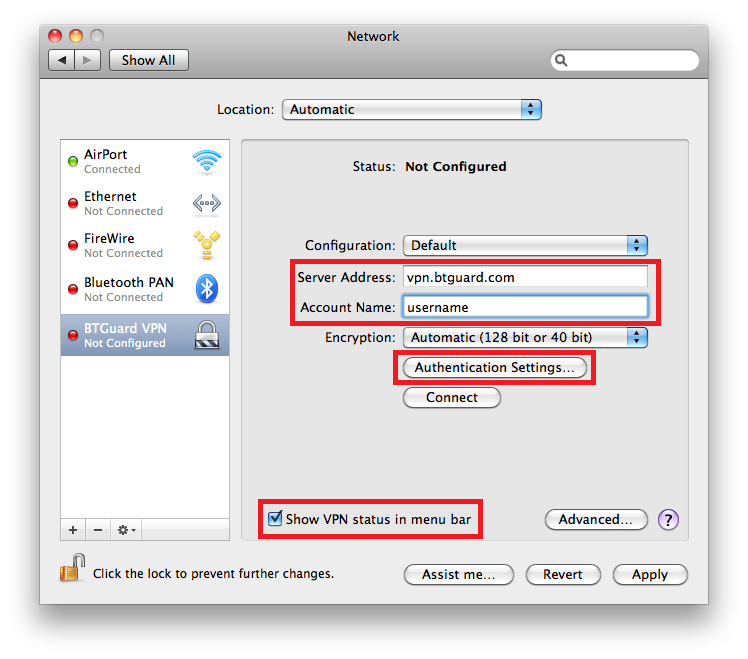
9. Server Address: vpn.btguard.com
Optional: To manually select your server location, please use ca.vpn.btguard.com for Canada or eu.vpn.btguard.com for Europe or sg.vpn.btguard.com for Singapore.
10. Account Name:
Both username and password are case sensitive. Make sure not to add/forget Capital Letters.
11. Check Show VPN status in menu bar
12. Click Authentication Settings
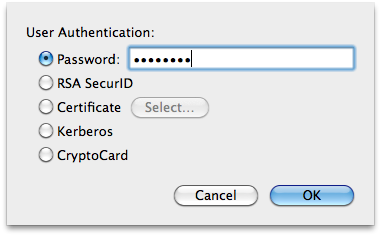
13. Enter your password and click OK
Both username and password are case sensitive. Make sure not to add/forget Capital Letters.
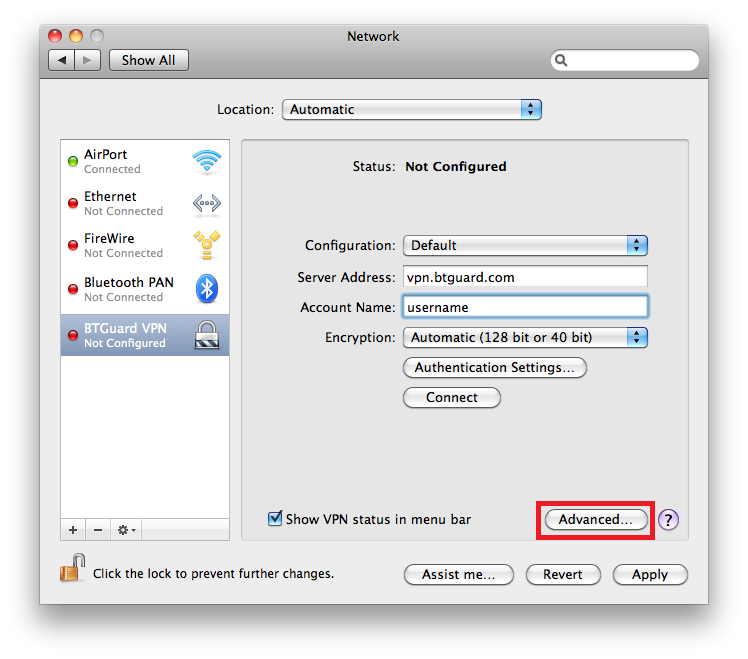
14. Click Advanced
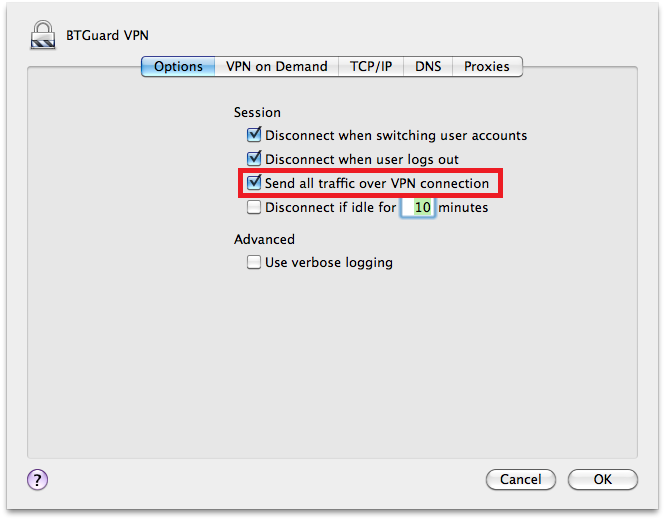
15. Check Send all traffic over VPN connection
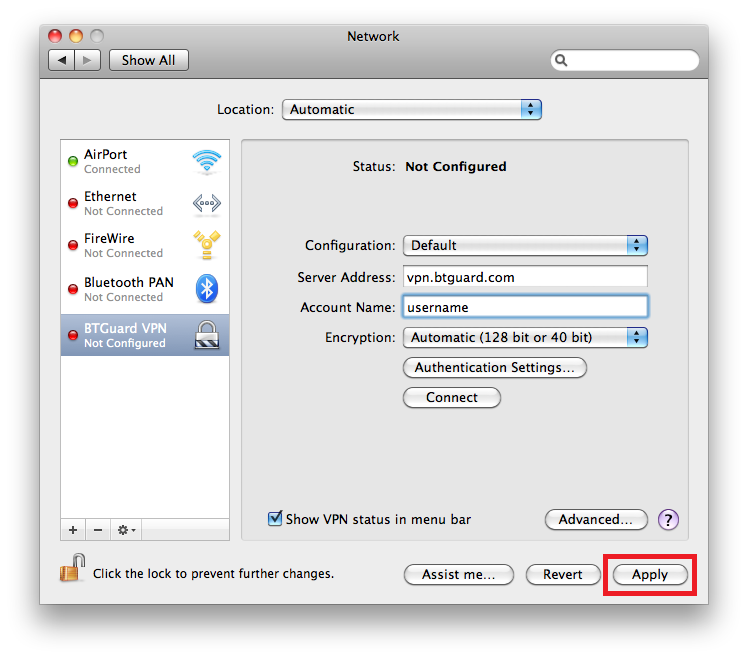
16. Click Apply
Setup complete!

How To Connect
1. Click the above icon, located in the top right corner.
2. Select Connect BTGuard VPN

If successful, a connection timer will begin.