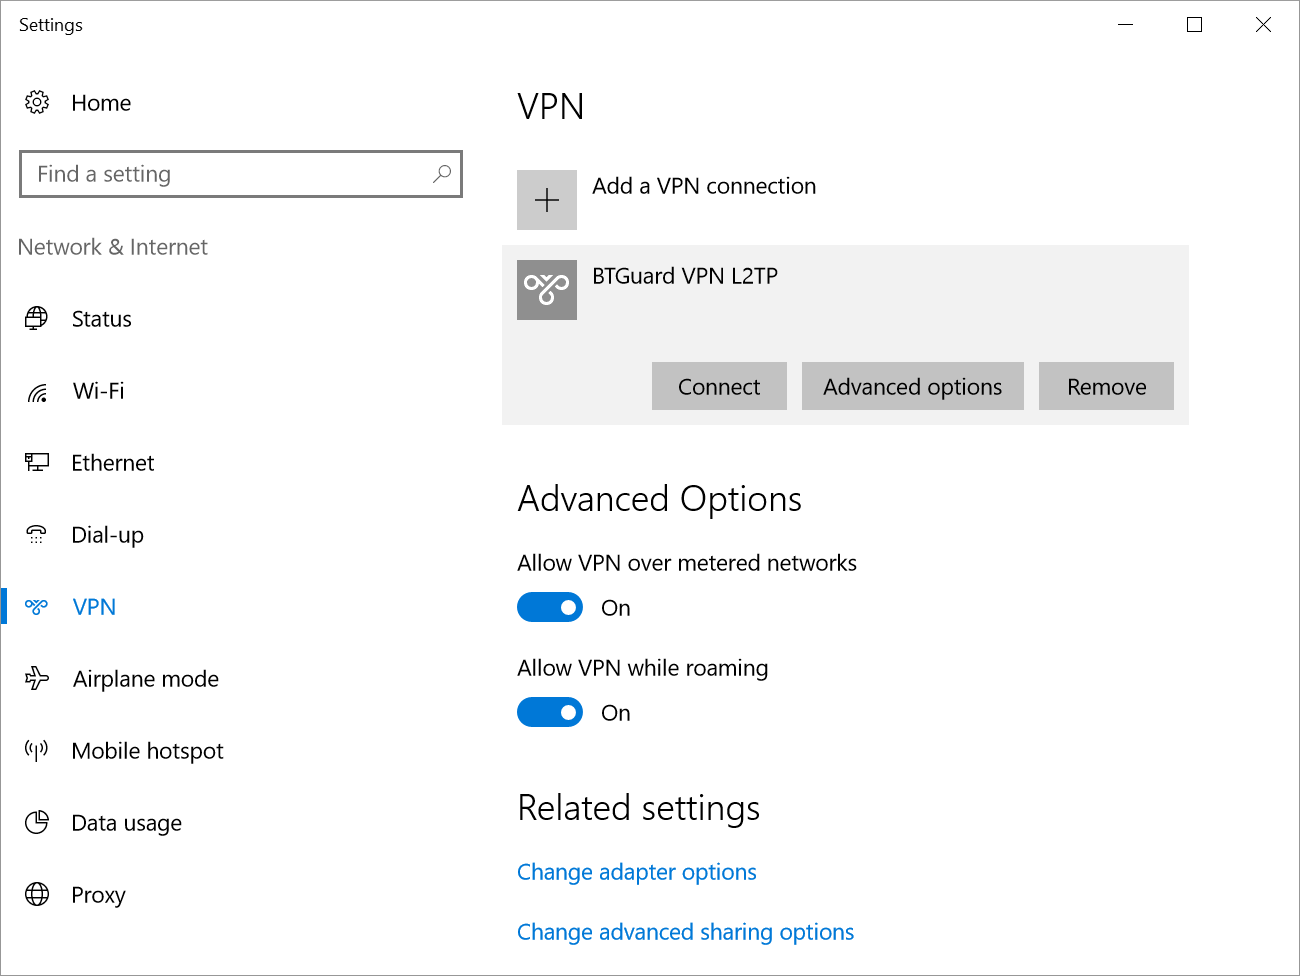
L2TP Windows 10
From BTGuard Wiki
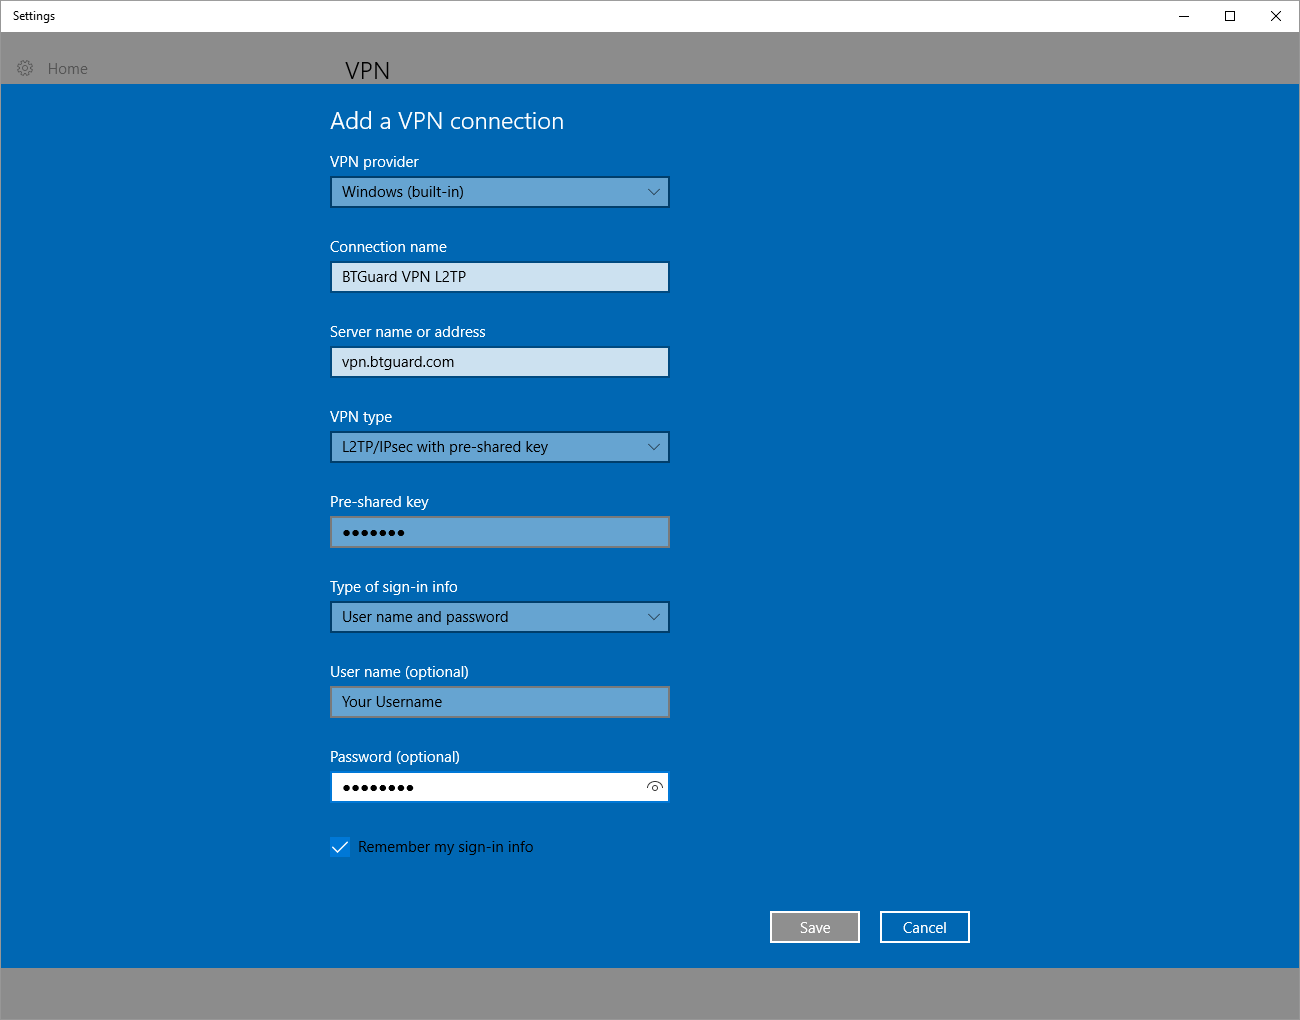
4. VPN provider: Windows (built-in)
5. Connection name: BTGuard VPN L2TP
6. Server name or addresss: vpn.btguard.com
Optional: To manually select your server location, please use ca.vpn.btguard.com for Canada or eu.vpn.btguard.com for Europe or sg.vpn.btguard.com for Singapore.
7. VPN type: L2TP/IPsec with pre-shared key
8. Pre-shared key: btguard
8. Enter your username & password
Both username and password are case sensitive. Make sure not to add/forget Capital Letters.
9. Hit Save.
10. Disable IPv6 for your Internet connection:
Download patch, extract, and run DisableIPv6.reg.
Setup complete!
How To Connect
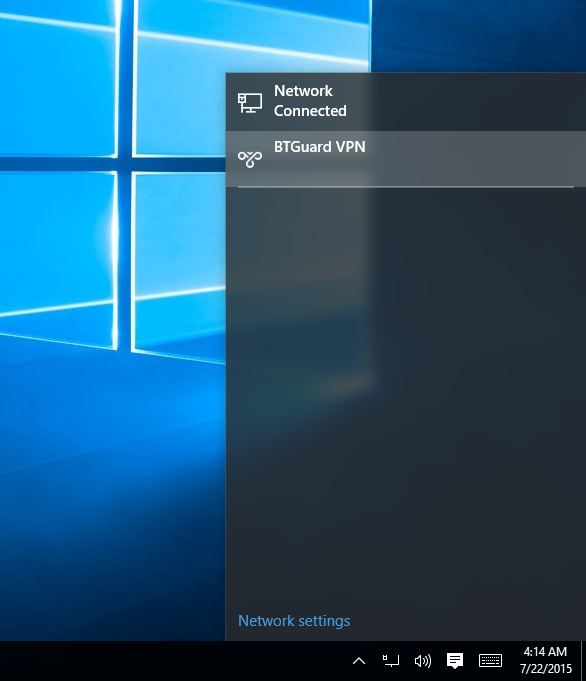
1. Click on your Network icon in the notification area (bottom right) and select BTGuard VPN L2TP.
